Fly.io
Setting up a Storyden instance on Fly.io in under 5 minutes!
Fly.io is a platform for running Docker containers on a global network of edge servers. It's a great fit for Storyden because it's container-native and super simple to get started!

Deployment
Relevant documentation: https://fly.io/docs/apps/launch
Fly.io will update their UI and CLI from time to time, so the examples in this documentation may fall out of date. In general, the process should remain roughly the same but if you spot a major difference, please let us know by opening an issue!
Create a new directory for your configuration and cd into it in your terminal.
cd storyden-fly-exampleOnce you've created an account on Fly.io and set up the CLI, you can launch a Storyden instance with a single command:
fly launch --image ghcr.io/southclaws/storyden --name storyden --internal-port 8000--imageis the Docker image to use. This is the latest version of Storyden from the GitHub Container Registry.--nameis the name of the app. This will be used to generate a URL for your app.--internal-portis the port that the app runs on inside the container. This is 8000 by default.
You'll see a confirmation of the app name, region, organisation, etc:
❯ fly launch --image ghcr.io/southclaws/storyden --name storyden --internal-port 8000
Using image ghcr.io/southclaws/storyden
Creating app in D:\Work\storyden-fly-example
We're about to launch your app on Fly.io. Here's what you're getting:

Organization: Your Name              (fly launch defaults to the personal org)
Name:         my-storyden            (specified on the command line)
Region:       London, United Kingdom (this is the fastest region for you)
App Machines: shared-cpu-1x, 1GB RAM (most apps need about 1GB of RAM)
Postgres:     <none>                 (not requested)
Redis:        <none>                 (not requested)
Tigris:       <none>                 (not requested)
Storyden idles at around ~80MB of RAM so 1GB is plenty and should support a small to medium sized community.
Storyden is written in Go which is a garbage-collected language, usage will increase based on the features you enable, the amount of traffic and the average size of content being processed. Keep an eye on Fly.io's grafana dashboards to track memory usage and scale up if necessary.
fly launch will open a browser window to confirm settings, make sure the internal port is set to 8000. Once you've confirmed, after a short time you'll see:
Waiting for launch data... Done
Created app 'my-storyden' in organization 'personal'
Admin URL: https://fly.io/apps/my-storyden
Hostname: my-storyden.fly.dev
Wrote config file fly.toml
Validating D:\Work\storyden-fly-example\fly.toml
✓ Configuration is valid
==> Building image

...

Visit your newly deployed app at https://my-storyden.fly.dev/
Fly.io will also generate a fly.toml file for you in the current directory. We'll use this in the next section to make Storyden production-ready.
For now though, admire your brand new instance of Storyden!
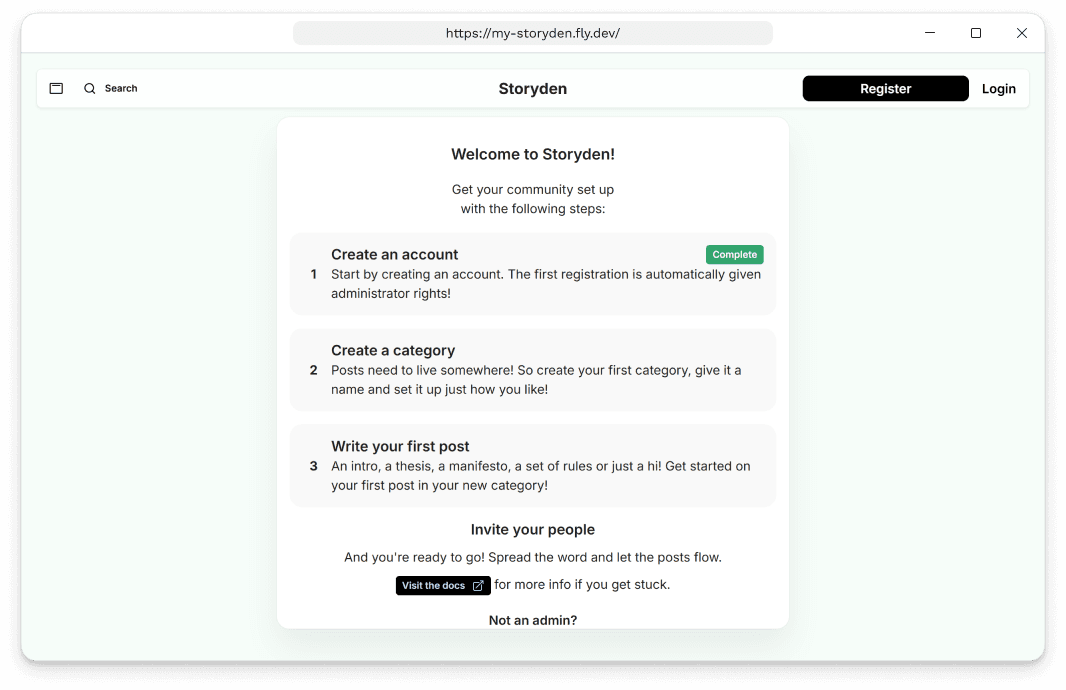
You can visit the URL that Fly.io gives you and you'll see your Storyden instance - almost ready to use!
Necessary configuration
That's only half the story though. You have an instance but
- it's entirely ephemeral! This means that if the instance is restarted, it will lose all its data.
- it has no idea what its public address is! This means session cookies won't work.
For this section, we'll be working with the fly.toml file that was generated when you ran fly launch. This file is used by Fly.io to configure your app. It'll look something like this:
app = 'my-storyden'
primary_region = 'lhr'

[build]
  image = 'ghcr.io/southclaws/storyden'

[http_service]
  internal_port = 8000
  force_https = true
  auto_stop_machines = 'stop'
  auto_start_machines = true
  min_machines_running = 0
  processes = ['app']

[[vm]]
  memory = '1gb'
  cpu_kind = 'shared'
  cpus = 1
Over time the defaults may change and what you see in your fly.toml file may
be different to what's here. Please refer to the Fly.io
documentation for additional guidance.
Persistent storage
Relevant documentation: https://fly.io/docs/volumes
To create a volume for the SQLite database, assets and other persisted data, we need to create a Fly volume:
fly volumes create storyden_data -r lhr -n 2What this means:
storyden_datais the name of the volume. This is what we'll use to mount it in thefly.tomlfile.-r lhris the region to create the volume in. This should be the same region as your app.-n 2is the number of replicas to create, in this example we're using 2 because by default,fly launchcreates two replicas of the app's machine.
To finish up, we need to mount the volume to the app by using the [mounts] section of fly.toml.
    app = 'my-storyden'
    primary_region = 'lhr'

    [build]
      image = 'ghcr.io/southclaws/storyden'

    [http_service]
      internal_port = 8000
      force_https = true
      auto_stop_machines = 'stop'
      auto_start_machines = true
      min_machines_running = 0
      processes = ['app']

    [[vm]]
      memory = '1gb'
      cpu_kind = 'shared'
      cpus = 1
+
+   [mounts]
+     source="storyden_data"
+     destination="/storyden/data"
Run Fly Deploy to attach the volume:
fly deployEnvironment Variables
Relevant documentation: https://fly.io/docs/reference/configuration#the-env-variables-section
Storyden uses secure cookies for session authentication. As a result, it needs to know what domain it's running on so it can set the Domain flag on the cookie.
    app = 'my-storyden'
    primary_region = 'lhr'

    [build]
      image = 'ghcr.io/southclaws/storyden'

    [http_service]
      internal_port = 8000
      force_https = true
      auto_stop_machines = 'stop'
      auto_start_machines = true
      min_machines_running = 0
      processes = ['app']

    [[vm]]
      memory = '1gb'
      cpu_kind = 'shared'
      cpus = 1

    [mounts]
      source="storyden_data"
      destination="/storyden/data"
+
+   [env]
+     PUBLIC_API_ADDRESS = "https://my-storyden.fly.dev"
+     PUBLIC_WEB_ADDRESS = "https://my-storyden.fly.dev"
The PUBLIC_API_ADDRESS and PUBLIC_WEB_ADDRESS variables
The public API address and public web address variables are necessary for Storyden to manage sessions using cookies and a few other things such as knowing where links should point to.
In the above section, when you ran fly launch, it gives you the URL of your app. This URL will look something like:
https://my-storyden.fly.devIt's a subdomain of fly.dev and is uniquely generated based on your app name. You can refer to the Fly.io domains documentation for information on setting up a custom domain.
For this quick start guide, your instance is all hosted on a single domain,
that means the API and the frontend both run on https://my-storyden.fly.dev.
But if you're using separate backend and frontend deployments (hosting the
frontend on Vercel for example) it's necessary that both share the same root
domain. So you'd put the API on something like api.mycommunity.com and the
frontend on mycommunity.com. Cookies will be issued to the root domain,
mycommunity.com in this example and will be included in requests to both the
API and the frontend's SSR rendering backend if you're using a framework such
as Next.js.
Once you've set these two environment variables, plus anything else from the configuration, you can now re-deploy the app:
fly deployAnd that's it! You now have your own Storyden instance running on Fly.io!
Visit your app's URL, invite your friends and start building your community's knowledgebase!